Welcome back to the third article in my series on building a #Kubernetes #homelab cluster on the #RaspberryPi. In this article, we will deep-dive into the third topic on the roadmap: setting up a multiarch container build process, discuss #datasync, a container with data movement and administration tools, and finally deep-dive on how I created a highly optimized multi-stage, multi-arch build of the datasync container.
timeline

Preliminary work
: Setup management node
: Setup a private certificate authority (CA)
: Setup multiarch container build process
: Setup local DNS
: Setup hosts

Cluster Bootstrap
: Setup Ceph on storage nodes
: Setup Microk8s
: Setup cluster GitOps pipeline - Flux, SealedSecrets, and a node debug shell
: Setup Ceph CSI Driver (ARM64)

Service CI/CD Enablement
: Setup Docker Registry
: Setup ClusterSecret
: Setup cert-manager and cert-manager-trust
: Setup Gitea and Jenkins

Observability Enablement
: Setup Prometheus
: Setup Promtail and Loki
: Setup k8s-event-logger
: Setup Grafana

Core Service Enablement
: Setup MetalLB
: Setup Nginx Ingress
: Setup Cloudflare tunnel and VPN client
: Setup OpenLDAP
The RaspberryPi 4 utilizes an ARM CPU architecture. While ARM is becoming increasingly popular, many containers I wanted to run are only built for the more common amd64 architecture.
To complicate things, the exact build requirements are usually quite specific to the application running in the container. For example, it is (mostly) trivial to compile an application written in golang since ARM is supported by the Go compiler itself. However, this isn’t always the case with other binary applications that need to link to external libraries. For the latter case having a fully containerized build environment that emulates the target CPU architecture is the best solution. Thankfully, as non-AMD64 architectures continue to gain in popularity there are an ever-increasing number of high-quality tools available to use.
The technology stack I settled on is:
- qemu, CPU emulation backend
- Binfmt, a pre-built container that can quickly setup cross-platform emulation
- Buildkit and the buildx #Docker CLI plugin to execute actual cross-platform builds
For performance reasons, all multi-arch images are built on the management node discussed in a previous article.
Container Registry
Before diving into the specific configuration, I need to touch on the container registry component. A container registry is simply a centralized repository that stores container images. In the steps below the build process will automatically push to a container registry if the build is successful.
I am running my own container registry based on the open source Docker registry however if you want to get started quickly there are several options available. Here are a few publicly-available container registries you can use:
- Quay.io
- AWS Elastic Container Registry (ECR)
- Google Container Registry
- Azure Container Registry
- IBM Container Registry
Aside from #ECR, I don’t have any experience with the other container registries so I’m not qualified to make much of a recommendation. I will comment that I do not recommend using DockerHub since DockerHub seem to be somewhat hostile to their existing open-source projects.
Configure Your Build Server
This section contains the typical commands needed to execute a multi-arch build. In a future article, I will share how I am automating builds with Jenkins however even on Jenkins, the process is mostly the same.
First, we need to create a BuildKit context:
docker context create ${BUILDX_DOCKER_CONTEXT}
docker context use ${BUILDX_DOCKER_CONTEXT}
Next, initialize qemu:
docker run --privileged --rm registry.kube/binfmt:latest --install all
Now we are ready to configure the actual builder. One thing to keep in mind is that depending on the registry you are pushing, you may need to customize your container so that it can trust your CA certificate. In the example below, the registry.kube/buildkit:latest image implements this solution and was built with a slightly modified builkit container that contains my CA trust certificates so that I can push to a local docker registry via TLS. The Dockerfile is available in the Downloads section. Alternatively, you can just use the official buildkit container from DockerHub.
First, we create a BuildKit builder:
docker buildx create \
    --driver-opt image=registry.kube/buildkit:latest \
    --name ${BUILDX_NAME} \
    --platform ${BUILDX_PLATFORMS} \
    --use ${BUILDX_DOCKER_CONTEXT}
Next, execute the build (with caching) and push it to the configured registry:
docker buildx build \
    --builder ${BUILDX_NAME} \
    --platform ${BUILDX_PLATFORMS} \
    --compress \
    --metadata-file=.build_metadata.json \
    --cache-from=type=registry,ref=${BUILDX_CACHE} \
    --cache-to=type=registry,ref=${BUILDX_CACHE},mode=max \
    --push -t ${IMAGE_PUSH_NAME_FULL}:latest \
    -f Dockerfile \
    .
Finally, remove the BuildKit builder when complete:
docker buildx rm -f ${BUILDX_NAME}
Datasync Overview
In this section, we will walk through the example of my datasync container.
Datasync is a multiarch container used to move data via the AWS CLIv2 (ex: via a s3 sync), scp, git, or curl. Additionally, datasync is bundled with kubectl and regctl so that other administrative operations can be performed.
Having a small data movement and Kubernetes administration capability early on is immensely useful. Currently, I am running datasync as a sidecar in my nginx pod to deploy content to this website. Additionally, datasync is running as part of an #airflow dag for all data backup, restore, and purge tasks. I am also using datasync as part of several ingestion pipelines to pull in external data for other projects I’m working on. Lastly, I have datasync setup to run as a daemonset to make it easier to debug node-level issues.
The ready-to-build datasync Dockerfile is available in the downloads section. In the remaining sections, I will comment on my thoughts and design of the datasync container, paying particular attention to how it is optimized for build speed and small container size.
Datasync Build Design
The datasync container is built from Alpine Linux since it is optimized to produce significantly smaller containers vs other distributions. Small container size is important for many reasons including:
- Smaller containers reduce the time needed to start up new instances of the container
-
Smaller containers use less disk space on hosts
-
Smaller containers may have a significant cost impact since less storage network bandwidth are needed (many container registry services are not free
-
In the case of the RaspberryPi cluster, large container pull operations will tax both the hosted container registry and the ingress controller to the point where it can impact other services
-
Smaller container sizes will make backups and recovery of the container registry more efficient; consider efficiencies gained by using a 200MB Alpine-based container vs 1 1GB Debian-based container when keeping 30 days of backups that are replicated 3x across a fault-tolerant storage cluster.
I’m sure there are many more reasons to keep containers small however I’m sure you get the point.
Moving on to the actual datasync Dockerfile, it is always a good practice to pull out any version information into build arguments. I am in year 3 of this project and needless to say, new features, bug fixes, and security updates will necessitate rebuilding the container:
ARG ALPINE_VERSION=3.16
ARG PYTHON_VERSION=3.11
The datasync container is designed to run as a multi-stage build. Broadly, this enables faster builds since non-dependant stages can be build in parallel with the side benefit of creating an easier-to-read Dockerfile since cleanup can be omitted as only the final stage is used for the actual container.
The first part of the multi-stage datasync build is the AWS CLI. From a multiarch standpoint, the important bit is that we are passing in --platform=$TARGETPLATFORM which will identify the target CPU architecture and platform being built. This allows the variable $TARGETPLATFORM to be used in a build command. For the aws CLI in particular the target platform is detected by Amazon’s build process however as you will see shortly this needs to be used directly.
Next, the --mount=type=cache option passed to RUN is a buildkit feature that will cache files to an external volume managed by the build host. In datasync, the build host cache is used for any additional packages needed for the Alpine Linux build environment. The last part of the builder-aws stage simply executes the build script provided by the AWS CLI tool.
FROM --platform=$TARGETPLATFORM python:${PYTHON_VERSION}-alpine${ALPINE_VERSION} as builder-aws
ARG AWS_CLI_VERSION

RUN --mount=type=cache,target=/var/cache/apk apk add git unzip groff build-base libffi-dev cmake
RUN git clone --single-branch --depth 1 -b ${AWS_CLI_VERSION} https://github.com/aws/aws-cli.git

WORKDIR aws-cli
RUN sed -i'' 's/PyInstaller.*/PyInstaller==5.2/g' requirements-build.txt
RUN python -m venv venv
RUN . venv/bin/activate
RUN scripts/installers/make-exe
RUN unzip -q dist/awscli-exe.zip
RUN aws/install --bin-dir /aws-cli-bin
RUN /aws-cli-bin/aws --version
One of the more challenging parts of keeping container sizes small is that every application is different. Case in point, once the aws CLI is built I added the following lines purely to reduce the size of the container since I don’t care about autocomplete and examples:
RUN rm -rf /usr/local/aws-cli/v2/current/dist/aws_completer /usr/local/aws-cli/v2/current/dist/awscli/data/ac.index /usr/local/aws-cli/v2/current/dist/awscli/examples
RUN find /usr/local/aws-cli/v2/current/dist/awscli/botocore/data -name examples-1.json -delete
The next stage is builder-regctl and is fairly straightforward. One thing to note is that we are leveraging the $TARGETARCH build argument to select the correct regctl binary.
FROM --platform=$TARGETPLATFORM python:${PYTHON_VERSION}-alpine${ALPINE_VERSION} as builder-regctl
ARG TARGETARCH
ARG REGCTL_VERSION

RUN --mount=type=cache,target=/var/cache/apk apk add curl

RUN mkdir -p /opt/regclient/bin
RUN curl -sL https://github.com/regclient/regclient/releases/download/v${REGCTL_VERSION}/regctl-linux-${TARGETARCH} > /opt/regclient/bin/regctl
RUN chmod 755 /opt/regclient/bin/regctl
Similarly, we install kubectl by leveraging the $TARGETPLATFORM“ build argument to download the correct binary.
FROM --platform=$TARGETPLATFORM python:${PYTHON_VERSION}-alpine${ALPINE_VERSION} as builder-kubectl
ARG TARGETPLATFORM
ARG KUBECTL_VERSION

RUN --mount=type=cache,target=/var/cache/apk apk add curl

RUN mkdir -p /opt/kubectl/bin
RUN curl -s -L -o /opt/kubectl/bin/kubectl "https://dl.k8s.io/release/v${KUBECTL_VERSION}/bin/${TARGETPLATFORM}/kubectl"
RUN chmod 755 /opt/kubectl/bin/kubectl
One the builder-aws, builder-regctl, and builder-kubectl stages are complete we can build the final stage. After installing Alpine Linux packages that I want to be included as part of the final container, I then copy over the artifacts produced in the other stages:
COPY --from=builder-kubectl /opt/kubectl/bin/kubectl /usr/local/bin/
COPY --from=builder-regctl /opt/regclient/bin/regctl /usr/local/bin/
COPY --from=builder-aws /usr/local/aws-cli/ /usr/local/aws-cli/
COPY --from=builder-aws /aws-cli-bin/ /opt/aws-cli/
COPY aws /usr/local/bin/
Downloads
Download examples mentioned in this article here.
Final Thoughts
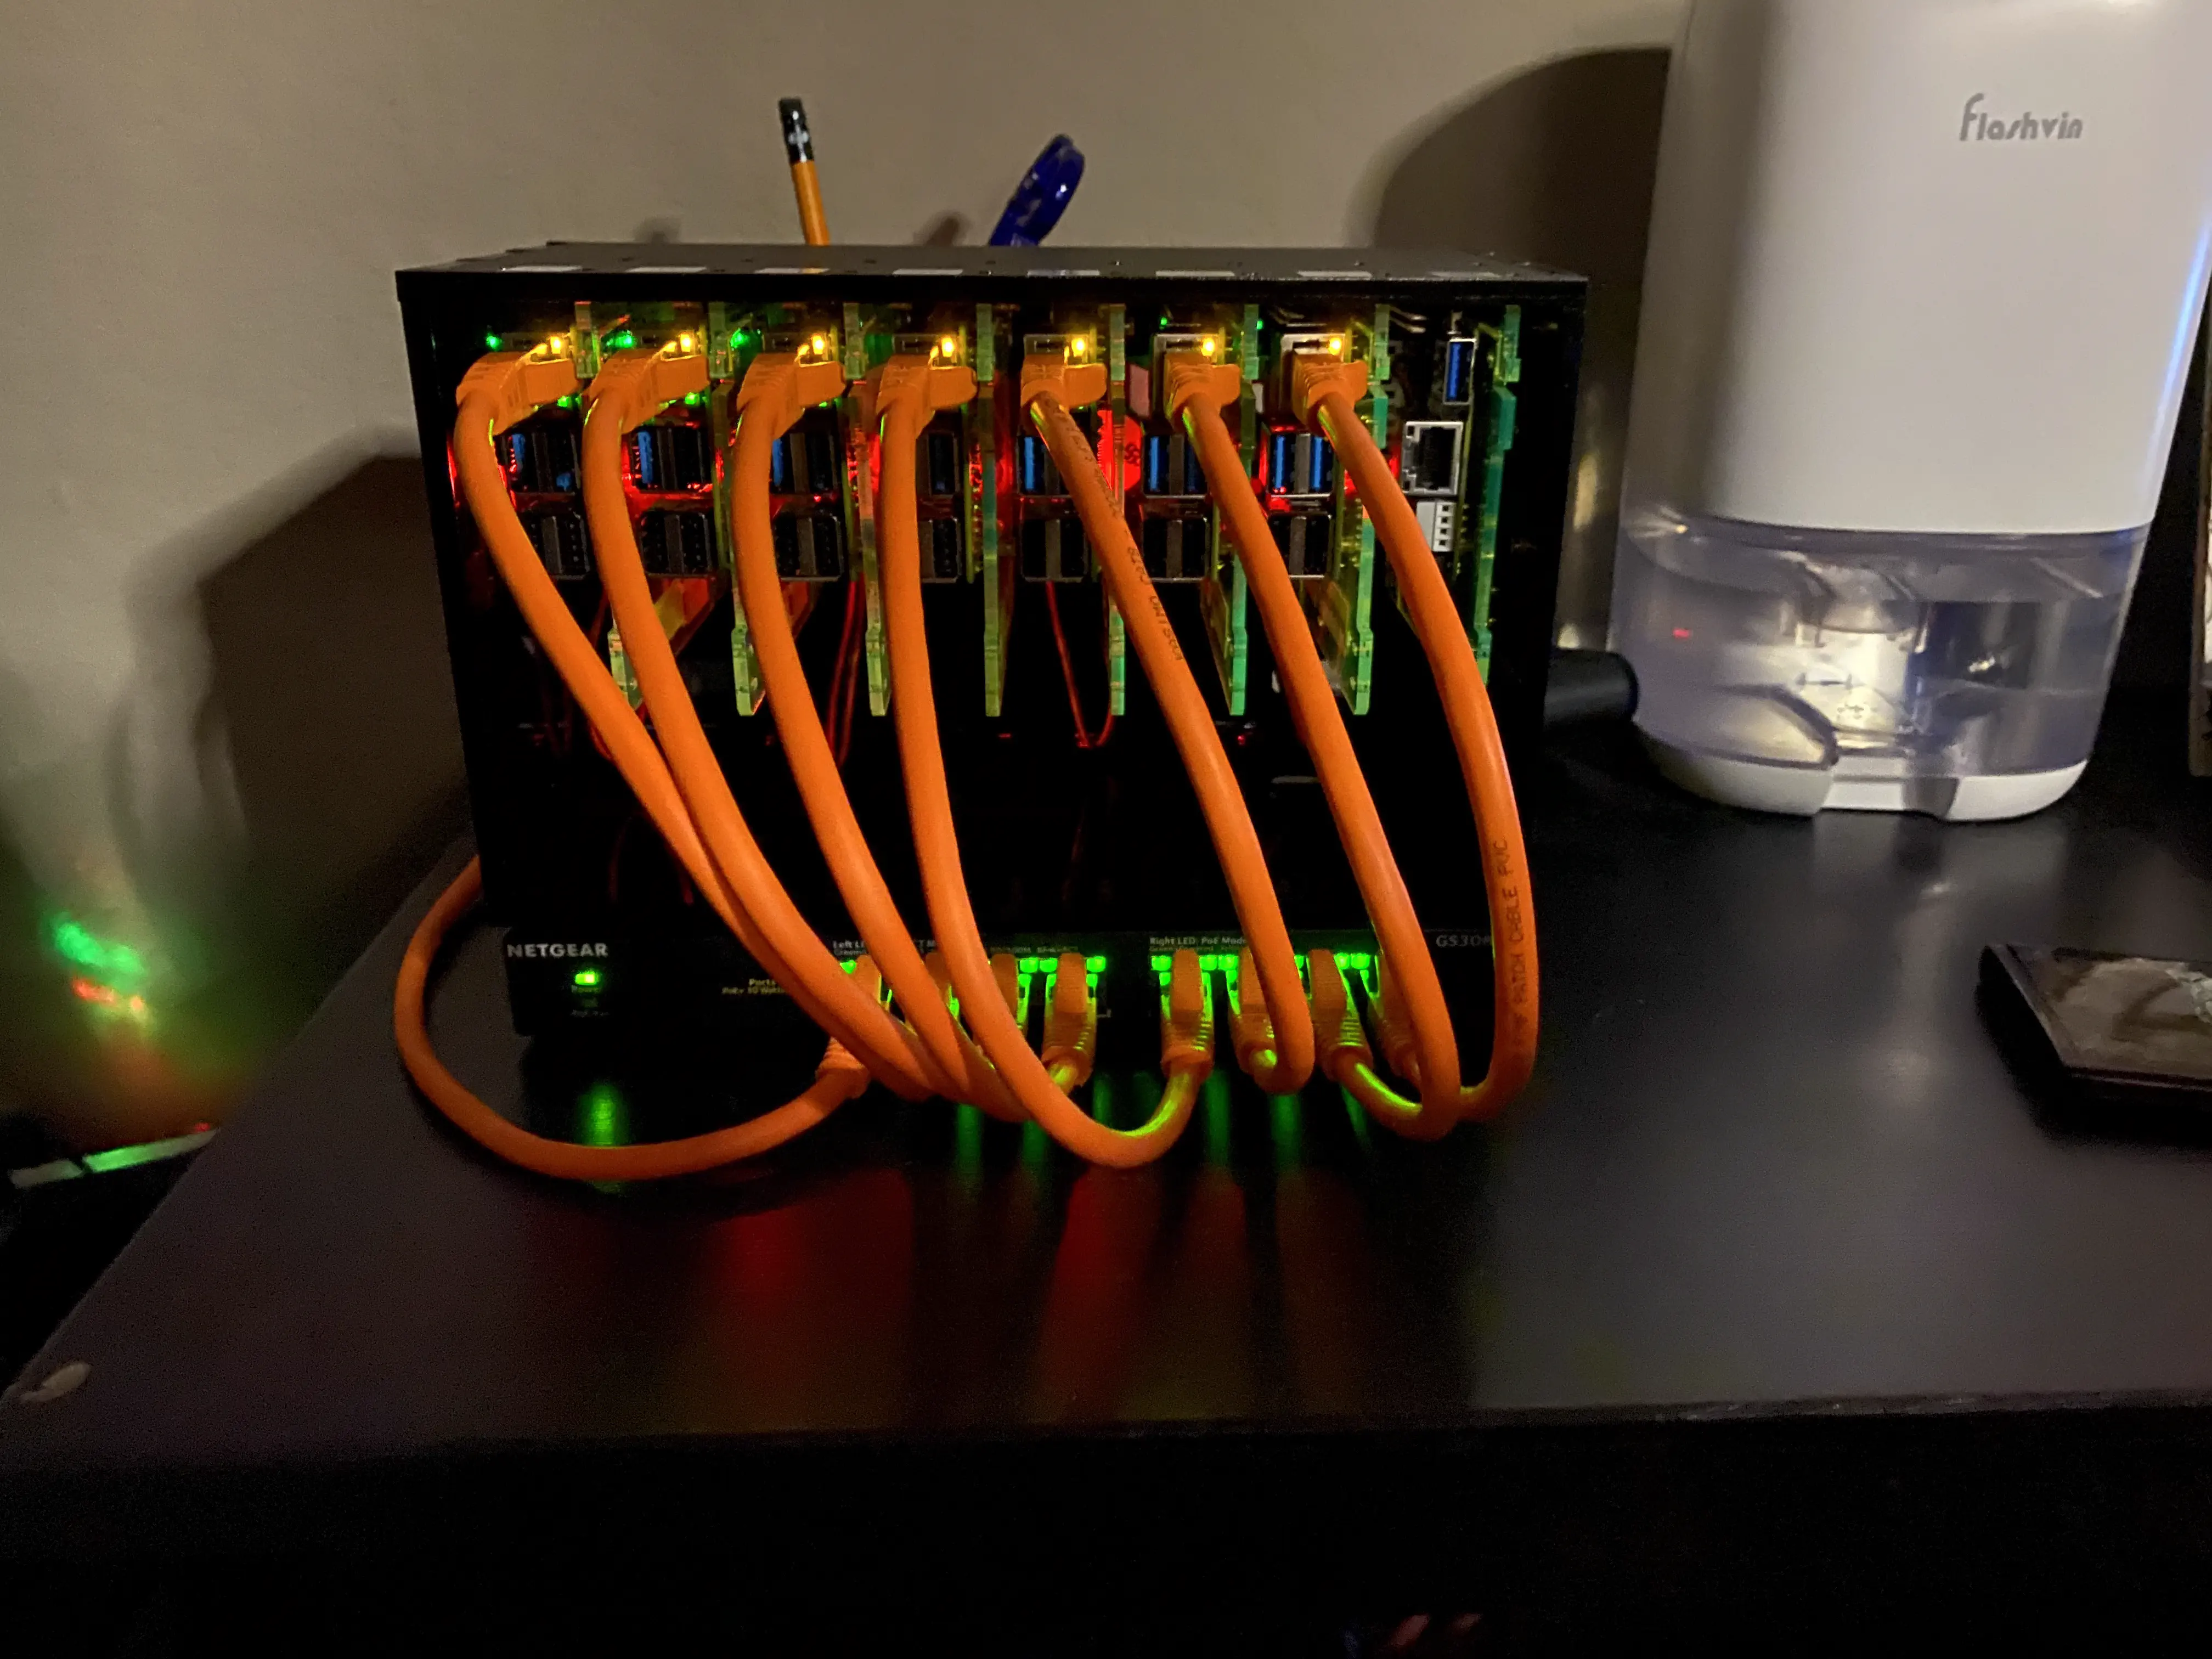
When I began the preliminary work, including the multiarch build the cluster was in a very early stage and had only 7 nodes. All I wanted to do at the time was to just start quickly and get things running. In hindsight, I’m glad that I took my time to establish the multiarch build capability first. As you will read in future articles this became useful almost immediately when I setup cluster storage and the initial #gitops pipeline.
As always, thank you for taking the time to read this article, I hope you found it both informative and engaging. I’m genuinely passionate about sharing experiences with the RaspberryPi homelab project, and it’s always a pleasure to share “re-live” the experienceYour support and interest mean a lot to me. As we continue to explore more aspects of the project, I encourage you to stay connected and share your thoughts, questions, and/or own experiences on our new Discord server.